Cleaning A New Home Pre-Move In
How To Clean A New Home Before Moving In
Did you know that cleaning a new space before moving in it eliminates dirt. Giving your new home a thorough cleaning before moving your belonging into it is totally beneficial and where to start.
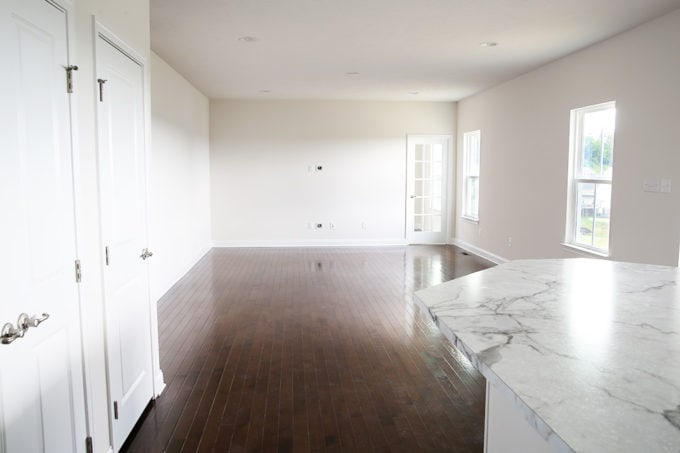
For instance, new construction leaves lots of dust and debris in your most unexpected places (e.g., putting in new cupboards, countertops, carpet, laminate, hardwood floors, etc.,). Do not let dirt lurk in places knowingly instead prepare to clean ahead. Also, the cleaning process indicate some things you might want to consider fixing, repairing, and/or replacing. Some of our clients ask, “What do you typically bring to a cleaning job?”. Well, there are actually materials for the cleaning process to get the cleaning job done thoroughly. The equipment, tools, and materials the Clean Team often bring s.
For equipment and tools we find that these are necessary:
- Vacuum
- Duster
- Dust mop
- Broom
- Bucket
- Step ladder
- Toilet brush
- Putty knife (optional)
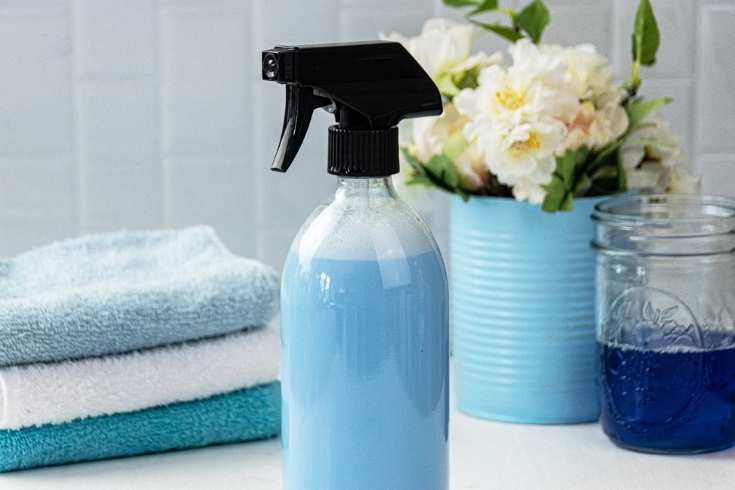
- Spray bottle
For materials we find that these materials are helpful:
- Rubber gloves
- Non-abrasive sponges
- Abrasive sponges
- Old toothbrush or cleaning brush
- Paper towels
- Cleaning rags or microfiber cloths
- Liquid dish detergent
- White vinegar
- Window cleaner
- All-purpose kitchen and bath cleaner
- Toilet cleaner
- Shelf lining paper
- Wood cabinet cleaner
- Baking soda
- Chlorine-free bleach
- Floor cleaner
- Oven cleaner (optional)
- Degreasing cleaner
- Sheet of brown paper or newspaper
- Carpet cleaner
- Disposable cleaning erasers (optional)
- Cleaner with chlorine bleach or chlorine bleach (optional)
- Tile or stone cleaner (optional)
- Wood soap cleaner (optional)
Our clients most common question that comes next is “Where do you start?” and “How can we help prepare for the Clean Team to clean for us?”. It is simple we commonly will respond with “We have a to do list” and “It is helpful when clients remove things from being in the way”. When cleaning a new space such as a family home for our clients we make sure to do a walk through to see what is applicable and needed to do a spectacular job.
The Clean Team tackles 5 main areas of a house which includes the following the bathroom, kitchen, living room, dining room, and bedrooms. On average the bathroom is a fantastic place to start when cleaning because nine times out of ten it is more than likely to need use while cleaning the house. For the best result, our team uses disinfect cleaners. For surfaces, we always start at the top and move down. For instance, we use a duster to clean out any pre-existing cobwebs, dust, and danger from the ceiling, corners, vents, fans, light-fixtures. Sometimes depending on how high areas are we will use a tool. Next, we gently clean the walls (e.g. finger prints around light switches). After, we move to wiping down windows in the bathroom if there any by using Windex on the glass and all-purpose cleaner for the windowsills. This handles mold and mildew that could have settled around the frame. If necessary, we will use diluted bleach to assist in this process. With a toothbrush or gently brush we scrub and scrub without damaging the surface until any grime is gone. If there were any left shades and/or blinds, we would consult with our clients first perhaps they would like to keep them instead of replacing when moving into the home.
Our team will do an upmost excellent job removing dust from them by vacuuming first and then with wet sponge to clean off any lingering filth. Next, we wash inside cabinets and closets such as medical cabinets, linen closet, any drawers of the bathroom using a combination of paper towels and a damp microfiber cloth with an all-purpose cleaner. The bathroom is well on it is way to being completed at this point there is just a few more things we do like scrubbing the tub and shower. Our method depends most on how dirty or even how damaged a client’s tub and shower may be, or if the shower and/or tub may be new. But typically, we use a basic all-purpose cleaner with a non-abrasive sponge to remove all dust, dirt, and grime. Soap scum on a glass shower door will wish they never came encounter with us after it is evicted! It only takes a mix of 1 part vinegar with 1 part dish detergent in a spray bottle with an abrasive sponge scrub down. The toilet gets disinfected after we finish the tub and shower. We start off by scrubbing the toilet with a brush then we use either sponges of paper towels to clean the outside, back, and handles of the toilet after applying disinfecting cleaner all around inside, and out.
The Clean Team will our team will clean client’s toilet tank with special when they are moving into a new home however this is something, we tend to discuss first before doing because it is one of our specialty services. For the most part, clients like to have this done to remove any pre-mildew, rust, minerals, and grime that build-up and eventually could damage the parts and cause odor. We wear rubber gloves and take these steps:
- Pour vinegar directly into the tank’s water to just below the top rim, and let it sit there for 12 hours to dissolve the gunk.
- Flush a few times to remove the vinegar.
- Fully drain the vinegar by turning off the toilet’s water valve near the back of the toilet and flush.
- While the tank is empty, we scrub the inside of the tank walls with plain water or if dirty, a gentle all-purpose cleaner.
- We turn the water back on, flush a few times until the water is clear in the tank and bowl.
After cleaning the toilet, we move on the sink area which is purposely saved for last for if we needed to use it throughout our bathroom cleaning process. We wash down the sink and fixture using a gently cleaner and sponge sometimes a toothbrush to reach into seams and any openings. We then focus on getting the faucet back to its sparkling self by using a clean cloth and the light all-purpose cleaner. To clean the mirror, we use standard glass cleaner. To wrap up cleaning the bathroom sometimes we spray some Febreeze!
Once the bathrooms are in the correct condition, we move onto the kitchen. The kitchen tends to be the stickiest place in the home. Just as we did in the bathroom, we start at the top the space and dust the ceilings, vents, fans, and light fixtures. Next, we clean the walls from all fingerprints around light switches and corners by using the proper cleaning method. For any for sticky patches our neat trick is to use light fabric softener to a sponge and rub the area after letting sit for 5-10 minutes then we rinse it with a damp sponge.
After we tackle cleaning the cabinets by using an all-purpose cleaner or paper towels to disinfect the inside of them. We clean the top of the cabinets and cabinet doors to clean the grease and grime if applicable. We use an all-purpose oil, baking soda, and vinegar based let it sit for a few minutes then we wipe it down. This includes all handles and inside of the drawers and cabinets as well. After we make sure handles and inside of the drawers and cabinets are cleaned excellently as well.
Now that the cabinets, drawers, all the nooks and crannies that go with it are completed we can clean the counters. The Clean Team pays close attention to cleaning between cracks to clean them from debris. For instance, cleaning tile backsplashes with a gently cleaner such baking soda and water.
Cleaning major appliances is usually something we also do around this time. For any pre-existing spills that are still lingering such as crumbs that are stuck inside appliances, we use a grease-cutting cleanser that get the job done right.
We also sometimes use a grease-cutting agent cleanser when it comes to cleaning clients sink. For the most part we tend to use chlorine-free bleach diluted in a spray bottle. We let this solution sit in the sink for 5-10 minutes the wipe the sink odors away! This always tend to freshen things up if not we used baking soda to eliminate any lingering odors.
After these couple of cleaning task are completed, we tackle we sweep and mop the floor. We do this by looking for any hidden crumbs or sticky stains left behind by former homeowners and/or occupants. If the floor is in average shape, we just do an overall sweep and mop to brighten and freshen it up. Any stone, vinyl, linoleum, or hardwood kitchen floors need a bit more attention to clean in which we come prepared every time.
Moving onto cleaning the stove the stove may need a heavy-duty cleaner such as baking soda and water with a heavy-duty cloth that will the grime and grease. We remove drip pans and racks to soak them in hot and soapy water while cleaning the rest of the interior of the stove. After the stove is completely clean and the drip pans/racks treated they are placed back into their designated spots in the oven. With cleaning the interior of the stove, we clean the range hood inside and out, including the filter.
To clean the surface, we use a grease remover and lay down newspaper to soak up any drips. We do not replace the bulbs in the oven unless added onto our task for a little more cost only because materials cost. The top and front of the stove are important for us to pay close attention to when cleaning just as the range hood because of the grime that gets impacted in the front panel and temperature dials. We use an all-purpose cleaner with baking soda sometimes bit of Dawn dish soap is used to clean that and gas burner plates then a glass cooktop cleaner to clean the glass of the stove.
Once the interior and exterior of the oven is cleaner properly, we clean under the stove because nobody ever does! The sides get clean thoroughly during this process and back of the stove. After this step is completed, we can finally start wrapping up cleaning the kitchen but first we need to clean the refrigerator.
To thoroughly clean a refrigerator, we need to unplug the appliance or turn the temperature down before hand so that it is easier to clean. We ask if possible, for clients to remove all their food so our cleaning does not interfere with the safety of their food. First, we take the drawers, bins, and shelves out of the refrigerator and freezer to wash them with hot, soap water in the bathtub typically. We set them aside after washing them to dry. We then wash the interior of the fridge by starting with the inside walls and any shelfs that are non-removable with a mixture of Dawn dish soap, baking soda, and vinegar. If there is tough stuck on grime, we will use a non-harmful cleaner that will help better to penetrate the difficult and stubborn grime. Once the interior of the fridge is cleaned and sanitized, we wipe it out completely leaving nothing but a sparkle behind. After this step is completed with clean the freezer! I know what you are thinking, “Burrrr how cold!?” but that is why we turned off the appliance so that we would not be affected by the cold. We simple do the same as we did with the refrigerator clean it, disinfect it, then wipe it out with a sponge and/or microfiber cloth.
After both the fridge and freezer are completed, we roll the appliance way from the wall so that we can clean the back, bottom, and sides of it. More than likely there will be a lot of dust that can be vacuumed behind the appliance. We sweep it out then mop behind the appliance then move onto cleaning the floors covering throughout our client’s home because at this point, we are nearing the end of our job.
To clean the floor throughout a client’s new home we start by sweeping and mopping unless hired to deep clean their carpets which is a specialty service of ours that is a little more costly. However, we do have the knowledge and experience of doing so. We do not do pest control such as fleas so if the past owner’s pet have them this is something that would need to be taken up with a professional that does pest control before us even coming into a client’s home.
To clean wood floors, hardwood, standard wood, or laminate we make sure to clean under the heating vents and appliances by using a gently soap to clean its surface such as Murphy Oil Soap because it works the best to remove dirt and polish surfaces giving it that fresh new inviting new look and scent. Sweeping and mopping floors such as tile, linoleum, stone, concrete, etc., is easy we sweep and/or vacuum up the debris the use the proper cleaning method for the type of floor.
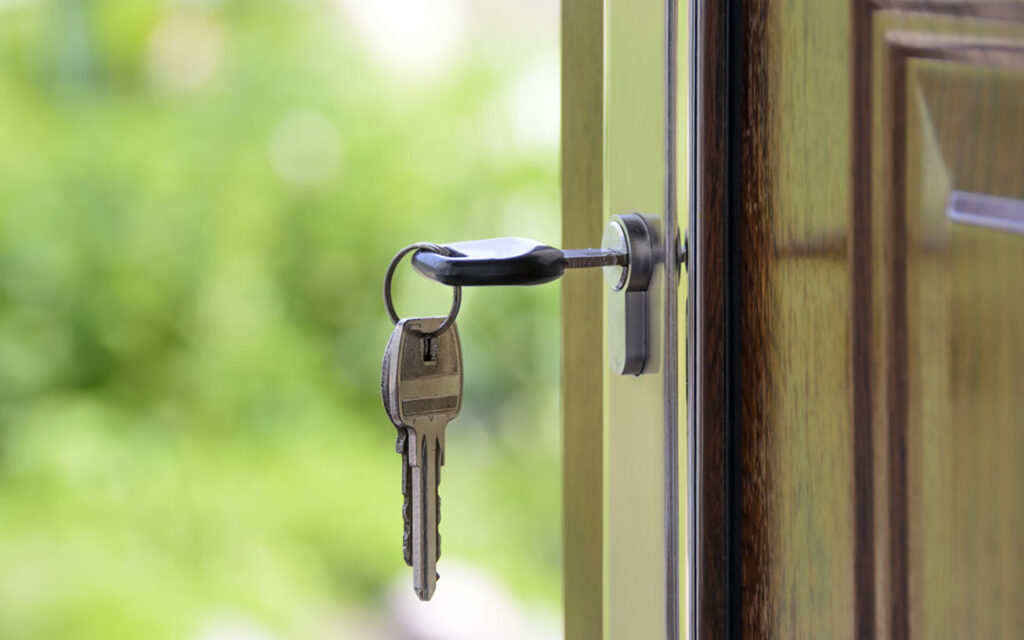
The Clean Team understands that there is nothing more exciting than moving into a new home. We also understand how important it is to clean your new home before moving into it which is why we offer our services. Let us be the ones that take care of all that goes into cleaning your new home so that you do not have to feel overwhelmed and can simple just enjoy all of the simple things. Whether a fixer upper or new home chances are it will need to be cleaned beforehand and you are going to want to see how far it has come. We will take before and after picture for you so that you see the difference and can feel satisfied with knowing that you hired the Clean Team.